
Before beginning your ISA storyboard, here is a practice exercise that will guide you step-by-step through the process of digitally drawing and then colouring another series of frames from the same campaign.
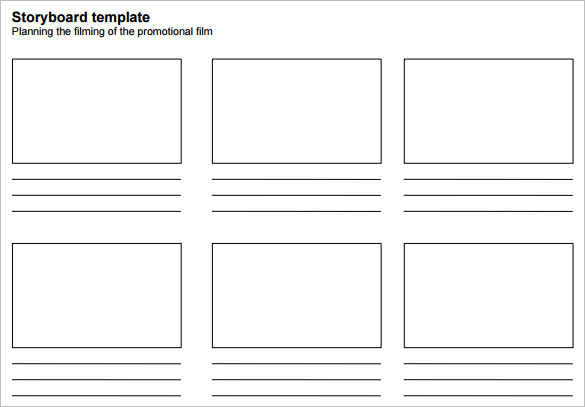
Step One is to thumbnail out the sequence of shots described in the script. You can find many examples of a storyboard template by using Google Image Search. Choose a basic one like this, download it and save it in a folder to use on each assignment.
Here's an old script from a storyboard job I did some years ago. The client was the Ministry of Health for the Gov't of Saskatchewan. The premise for this commercial (and several others in the series) was that the Grim Reaper can't kill anyone who exercises and eats well. Read this script, then digitally thumbnail the four shots into the first four frames of your storyboard template.

Post your thumbnail storyboard sequence, which should look something like the example below, on your blog. You can see what other students in our class did by clicking the links in the right hand sidebar.

Once you've established your shots in thumbnail form, it's time to draw a better, final version of each frame. This commercial is meant to be shot with human actors, so the drawings can't look overly 'cartoony' - they need to reflect actual human proportions and somewhat realistic surroundings. If drawing realistically 'out of your head' is too challenging, find appropriate photo reference. For example, the opening shot of the Grim Reaper walking down the street would be easier to draw with the help of some photo reference like this:

By bringing these photo references into our document and combining them as a Multiply layer with reduced opacity, we can quickly 'ink' a linear version that is the correct (human) proportion, adding some relevant background environment as we go along. NOTE: keep the figure(s) and the background on separate layers for flexibility further on in the process!

Post your line art storyboard sequence on your blog below your thumbnails. Describe your process in a few sentences, explaining how you are working through the project. You can see what other students in our class did by clicking the links in the right hand sidebar of this blog.
Next week you'll be working independently on the colour stage of the four frame script (scroll back to the top to download that script). To see the colouring process step-by-step, click this link to the next blog post.
No comments:
Post a Comment