
Begin by flat colouring the background on the Background layer. Work from whatever is farthest away (the sky) to whatever is nearest (the road, sidewalk and grass in the foreground).
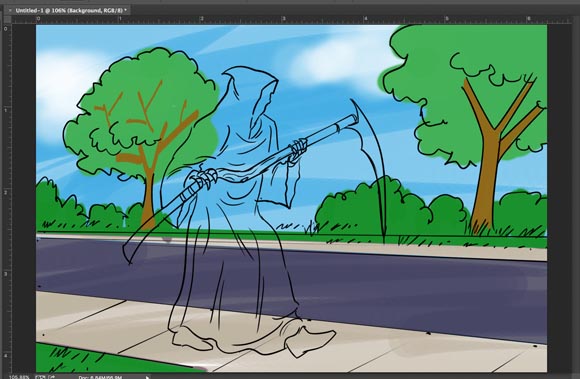
Flat colour the figure last by using the Polygon Lasso tool to select along the line art of the figure, as I demonstrated in class in Week Four.
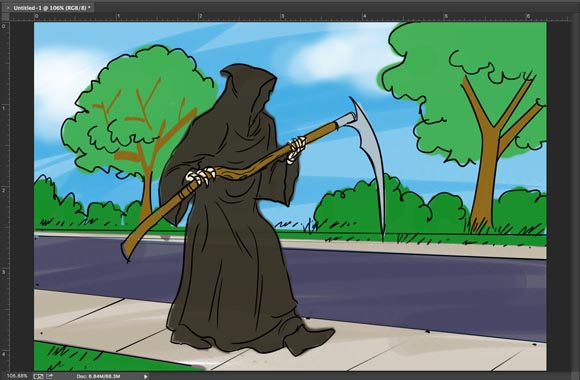
Next, create a Multiply layer for the background and the figure. This layer will be the Shading layer, allowing you to add darker shadow shapes to both the figure and the background, which will heighten the sense of realism.
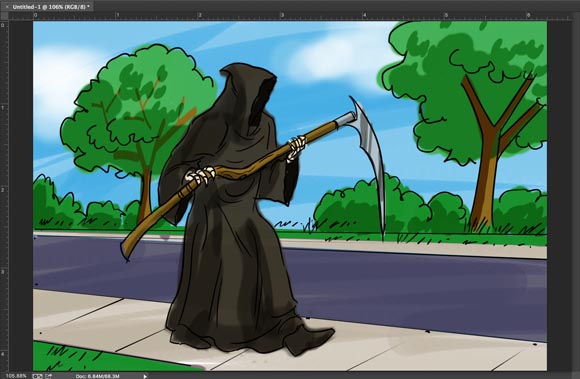
Next, create a Normal layer for the background and the figure. This layer will be the Highlight layer, allowing you to add lighter shapes to both the figure and the background, which will again heighten the sense of realism. Make sure to place the Highlights layer at the top of the layer stack.

For Week Six: Complete all four frames of your storyboard using the colouring process shown above. Post the stages of colouring on your blog (add this to the thumbnail post from week one of this assignment) - and describe what you did at each step of the process.
No comments:
Post a Comment