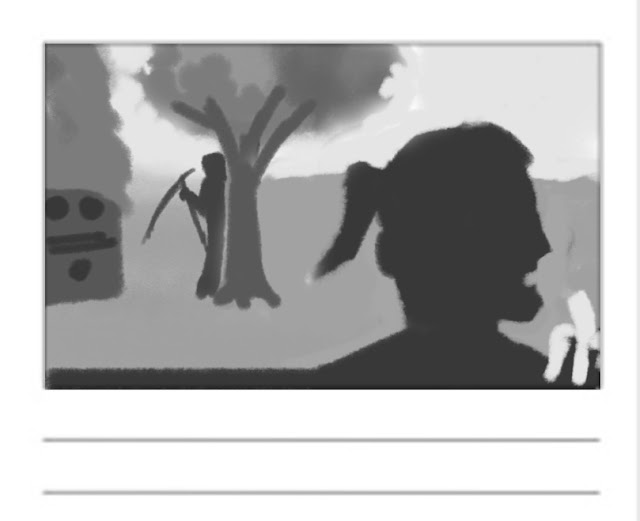
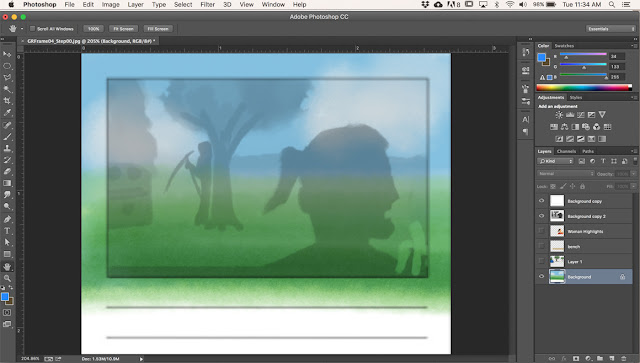
Now use these 'painted' thumbnails to begin building the full colour final version. Choose any one frame that appeals to you and block in the biggest shapes in colour, working from back to front. Leave the thumbnail on a Multiply payer with reduced opacity to help guide your colour block-in:
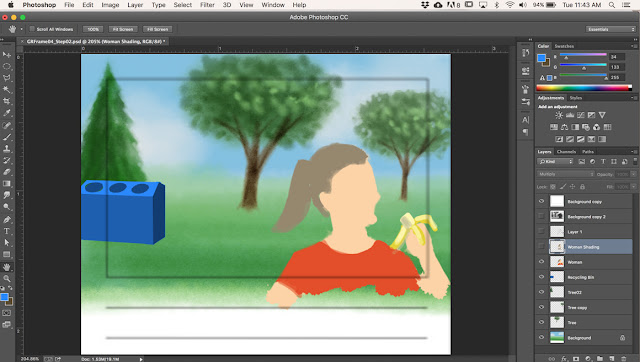
Add assets like trees and other mid-ground props on separate layers so you have the flexibility to move them around, lighten or darken them, duplicate them or resize them.
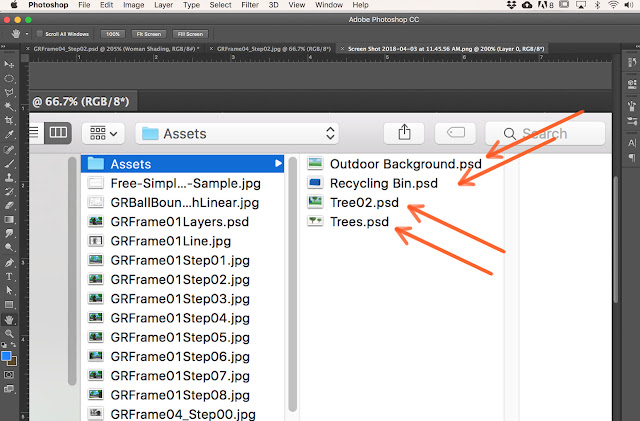
You can save these as separate files for later use on other frames - or even other future jobs.
Add a Multiply layer for shading foreground elements...
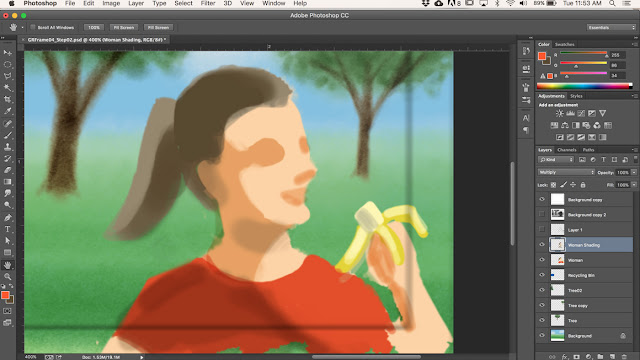
... followed by additional layers for details like facial features and clothing details, and then finally a highlights layer.
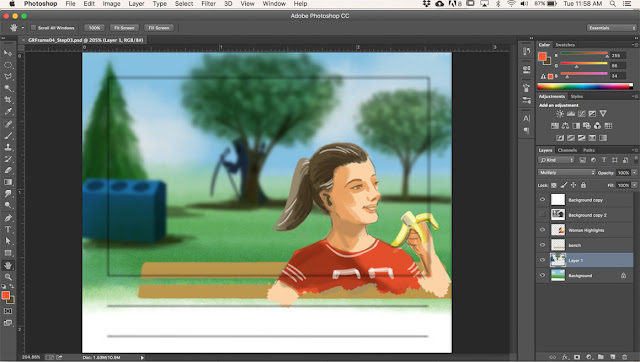
As a finishing touch I gathered together the mid-ground layers (trees, Grim, and the recycling bin) and applied a Gaussian Blur filter to them. This heightens the sense of 'film making' - suggesting the scene was shot with a short focus lens.
For next week, choose just ONE frame from your painted thumbnail sequence and use this method to paint the full colour finished version. Post screen shot steps, explaining your process as you go - just as I've done above. Include your Photoshop desktop as you can see in my shots.
No comments:
Post a Comment